Editing test steps
A test case is a table of test steps. In addition to adding steps at the end, you can insert, reorder, and delete steps directly in the grid.
Adding a step
Section titled “Adding a step”- Click Add step in the macro toolbar to add a new step at the end of the table.
- Or, select a cell in the last row (without opening its editor) and press the Down Arrow key.
Expected result: A new empty step appears at the end of the table.
Inserting a step
Section titled “Inserting a step”Move the pointer near the left edge of a row. A blue line and a small + button appear between rows. Click the + button to insert a new step at that position.
Reordering steps
Section titled “Reordering steps”Drag the handle at the left edge of a row (the drag indicator) up or down to change the order of the steps.
Deleting a step
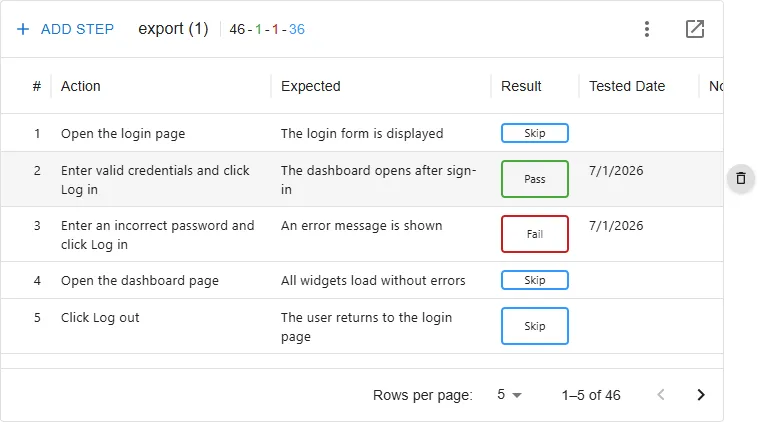
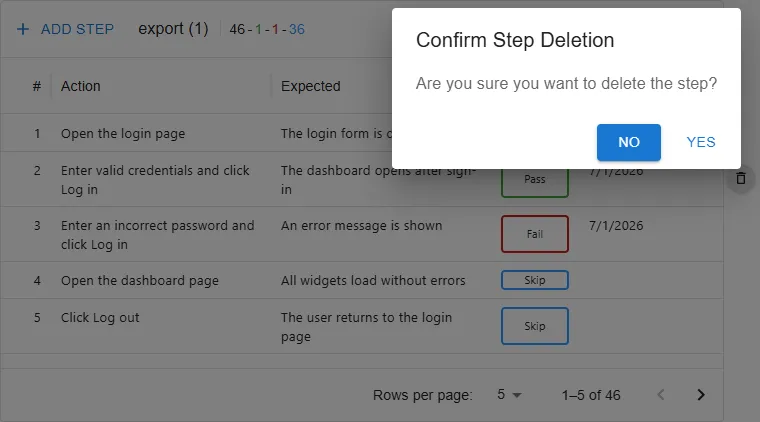
Section titled “Deleting a step”Hover over a row and click the delete button that appears on the right edge of the row. A confirmation dialog (Confirm Step Deletion) is shown; click Yes to delete the step.
Expected result: The step row is removed and step numbers are renumbered automatically.
Editing cells
Section titled “Editing cells”Click a cell (or select it and press Enter) to start editing.
- Text columns (such as Action, Expected, and Note) support multiple lines. Press Enter for a new line and Shift + Enter to finish editing.
- A URL typed into a text cell becomes a clickable link in view mode.